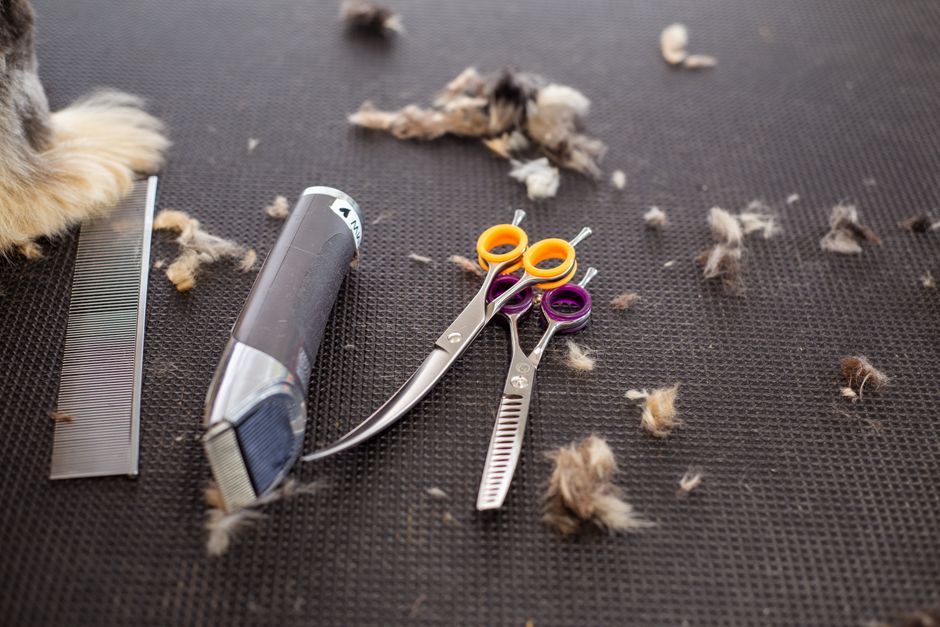
Here is the number that most dog owners do not think about until their grooming bill arrives a few times in a row. Professional dog grooming costs between $50 and $100 per session depending on breed and size, and most dogs need grooming every four to eight weeks. That is anywhere from $600 to $1,500 per year — for a service that, for many routine grooming tasks, you can learn to do at home with a modest initial tool investment and a few sessions of patient practice.
Regular home grooming is one of the most beneficial things a dog owner can do for their dog’s health comfort and the human-animal bond that consistent gentle handling builds over time. We will be discussing in this article on how to groom your dog at home with complete care.
According to the American Kennel Club’s grooming guidance, regular brushing and coat maintenance does more than maintain appearance — it promotes healthy skin circulation, allows early detection of lumps, parasites, and skin conditions that veterinary attention catches earliest when found during routine grooming, and establishes the handling trust that makes veterinary examinations significantly less stressful for dogs who are regularly touched and examined at home.
This complete beginner’s guide to home dog grooming covers every task from the most basic — brushing and deshedding — through the ones that intimidate most beginners, like nail trimming and ear cleaning. The goal is not to replace professional groomers entirely for every dog — some breeds and some coat types genuinely benefit from periodic professional attention. The goal is to give you the knowledge and confidence to handle the between-appointment maintenance that keeps your dog comfortable, healthy, and looking their best year-round.
What Home Grooming Actually Involves. Setting Realistic Expectations.
Before getting into specific techniques it helps to understand what home grooming realistically covers and what it does not — because the gap between expectation and reality is where most beginner home groomers get discouraged before they develop the confidence that makes it genuinely manageable.
What most dog owners can confidently learn at home:
Brushing and deshedding — the most important and most frequent grooming task for most breeds and the one that produces the most significant impact on coat health and shedding management in daily life.
Bathing — straightforward for most dogs once a reliable routine is established, though some dogs require patience and positive reinforcement to accept bath time comfortably.
Nail trimming — the task that most beginners find most intimidating and that most dogs initially resist, but that becomes routine with consistent practice and the right technique.
Ear cleaning — gentle routine cleaning that prevents the buildup that leads to infection in breeds with floppy ears or heavy ear hair.
Eye area cleaning — gentle cleaning of the eye discharge that accumulates particularly in flat-faced breeds and breeds with prominent eyes.
Basic coat trimming — trimming around the face, paws, and sanitary areas is achievable for most home groomers with patience and the right scissors.
What professional groomers handle better:
Full breed-standard haircuts that require breed-specific knowledge and professional clipping equipment. Severely matted coats that require dematting expertise and tools. Anal gland expression in dogs who need this done regularly. Dogs with significant handling anxiety that requires professional desensitization approaches.
Practical tips on how to groom your dog at home.
Following are some tips on how to groom your dog at home.
Section 1 — Brushing and Deshedding
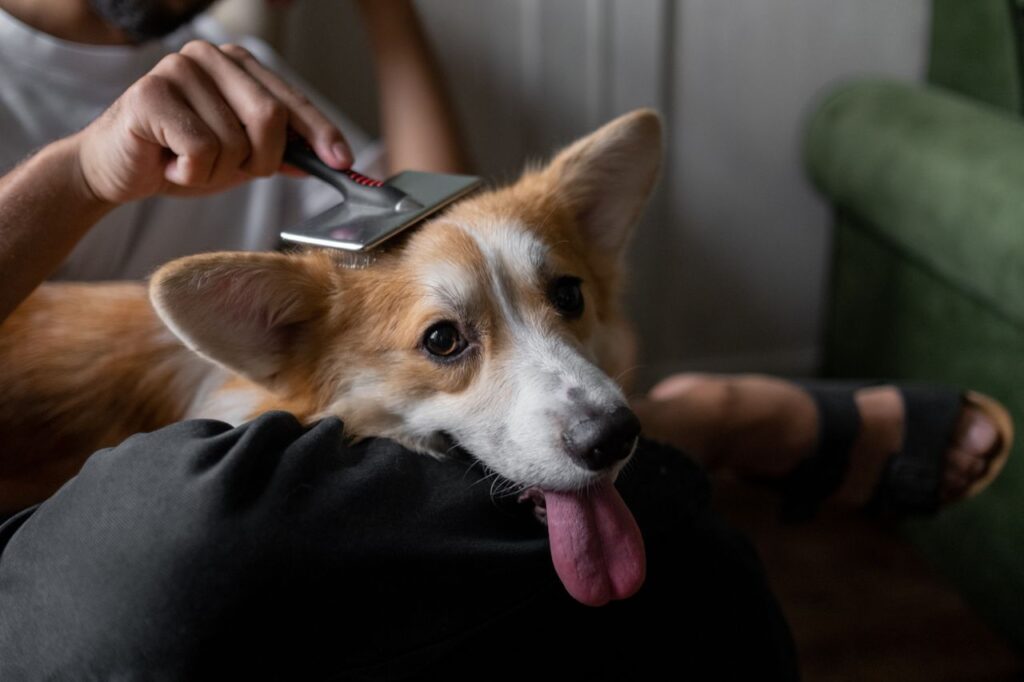
Brushing is the foundation of home dog grooming — the task that most directly affects coat health, shedding quantity, and the skin circulation that healthy coat growth depends on. How often your dog needs brushing depends primarily on coat type.
Short single-coat breeds (Beagles, Vizslas, Boston Terriers) need brushing once or twice per week with a rubber curry brush or grooming mitt that removes loose hair and stimulates skin circulation without the coat length that makes tangles possible.
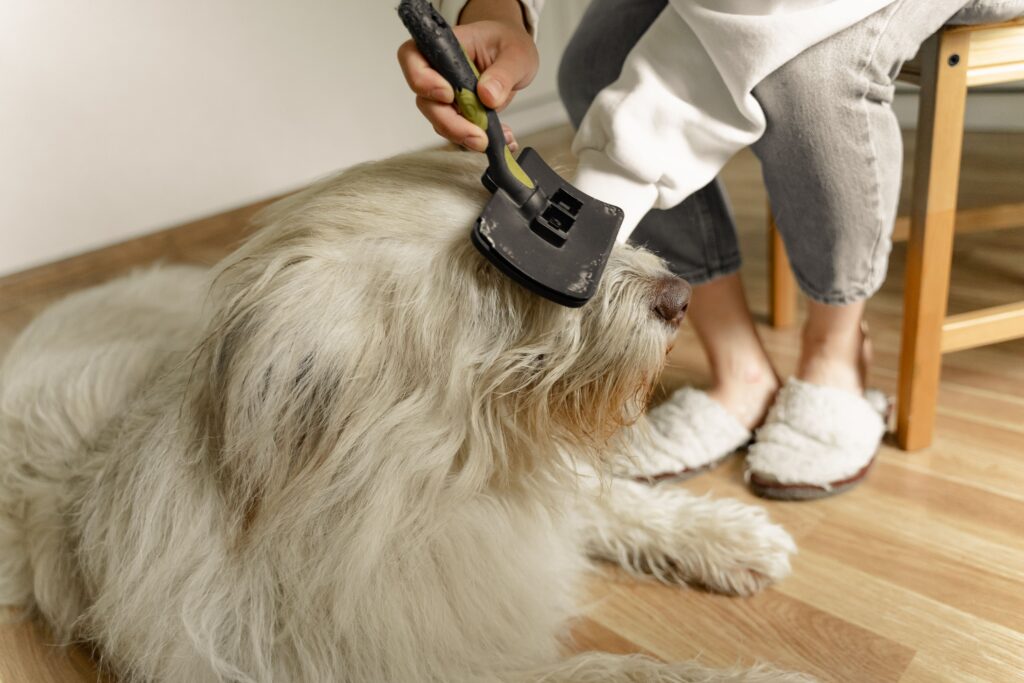
Medium double-coat breeds (Golden Retrievers, Labradors, German Shepherds) need brushing two to three times per week and daily during the heavy shedding seasons of spring and fall. An undercoat rake reaches through the outer coat to remove the dense undercoat that these breeds shed in significant quantities and that surface brushes alone cannot adequately address.
Long single-coat breeds (Yorkshire Terriers, Maltese, Shih Tzus) need daily brushing to prevent the matting that fine long single coats develop rapidly when left without regular attention. A slicker brush and metal comb together — slicker for detangling and comb for checking that no tangles remain — handle these coats most effectively.
Curly and wavy coats (Poodles, Doodle mixes, Bichon Frises) need brushing every one to two days to prevent the tight matting that curly coats develop close to the skin — the type of matting that is most painful for the dog and most difficult to remove without professional dematting tools.
The correct brushing technique:
Work in sections from the skin outward rather than surface brushing that misses the underlayer where tangles and matting actually form. For long-coated breeds hold the coat above the section you are brushing with one hand while brushing the section below with the other — the layer-by-layer approach that addresses the full coat depth rather than only the visible outer layer.
Always brush before bathing — matted wet coat is significantly harder to detangle than matted dry coat, and tangles tighten when wet in ways that can make removal painful and sometimes impossible without cutting.
Section 2: Bathing
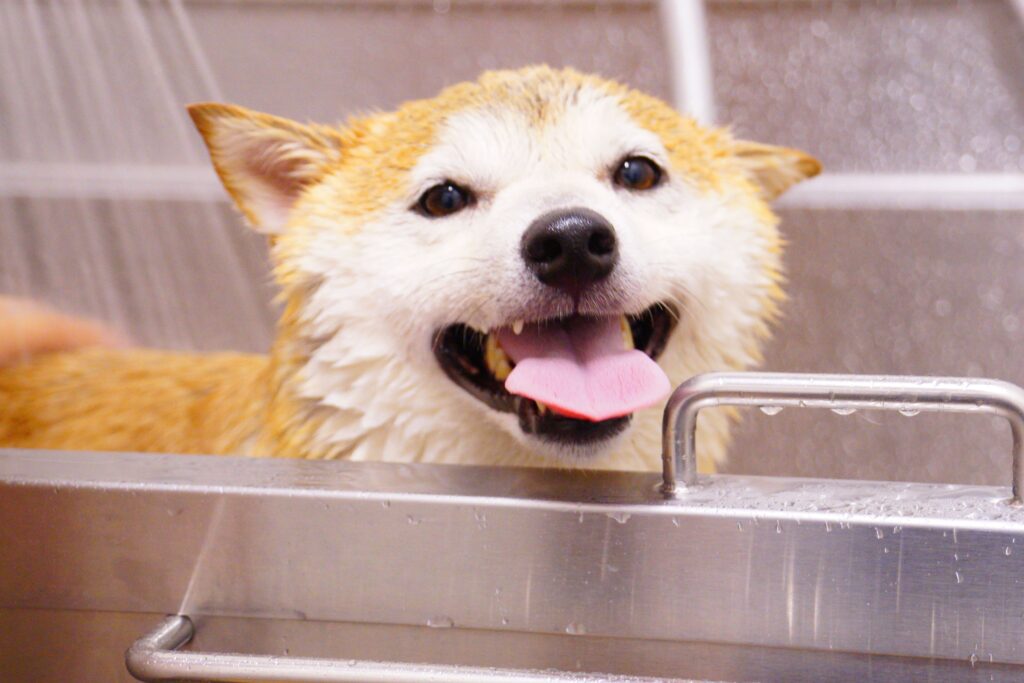
Most dogs need bathing every four to six weeks under normal circumstances — more frequently after muddy outdoor adventures, less frequently for short-coated breeds whose natural oils maintain coat condition more effectively than frequent washing allows. Over-bathing strips the natural oils that healthy skin and coat depend on and creates the dry flaky skin and dull coat that under-oiled alternatives develop.
Preparing for the bath:
Brush thoroughly before bathing. Gather all supplies before the dog enters the bathing area — shampoo, conditioner if used, several towels, and a non-slip mat for the tub or shower base. The dog who slips during bathing develops bath anxiety; the non-slip mat prevents this.
The bathing products you choose matter as much as the bathing technique — the wrong shampoo creating the skin irritation and coat damage that the right technique cannot prevent when the product itself is inappropriate for your dog’s specific coat and skin type. For the complete guide to choosing the right shampoo for your dog’s specific coat check out our complete guide to the best dog shampoos for every coat type — the product selection that makes every bath session produce the healthiest cleanest coat result possible.
The bathing technique:
Use lukewarm water — not hot, which can burn sensitive skin, and not cold, which makes bath time aversive for the dog and less effective for cleaning. Wet the coat thoroughly from the neck back before applying shampoo, and keep the initial wetting away from the face which most dogs find alarming when water pours over it directly.
Apply shampoo and work it through the coat in the direction of hair growth — not against it, which creates tangles. Pay particular attention to the high-grime areas: armpits, groin, paw pads, and the base of the tail where dirt and skin oils concentrate.
Rinse thoroughly — more thoroughly than you think is necessary. Shampoo residue left in the coat is one of the most common causes of post-bath skin itching and irritation. Run your fingers through the coat during rinsing and continue until the water runs completely clear and no soapy feel remains in the coat.
Drying:
Towel dry as thoroughly as possible before using a blow dryer. Use a pet blow dryer or a human blow dryer on its lowest heat setting — high heat damages coat and can burn skin. Keep the dryer moving constantly rather than concentrating heat in one position. For double-coated breeds a high-velocity dryer that moves air rather than heat dries the dense undercoat significantly faster than conventional heat dryers and produces a fully dried coat rather than the damp-undercoat situation that conventional dryers leave in thick-coated breeds.
Section 3: Nail Trimming
Nail trimming is the home grooming task that most beginners approach with the most anxiety — and it deserves respect because doing it incorrectly can be genuinely painful for the dog. But doing it correctly is genuinely learnable and, once learned, is one of the most beneficial regular grooming contributions you can make to your dog’s physical comfort.
Overgrown nails force the toes into an unnatural splayed position, which affects the entire paw alignment, which affects the leg alignment, which affects posture throughout the body. Dogs whose nails are kept at the correct length walk more comfortably and with better posture than dogs whose nails are allowed to grow too long between infrequent trims.
Understanding the quick:
The quick is the blood vessel that runs through the center of each nail. Cutting into the quick is painful and causes bleeding — the outcome that most beginners fear. In dogs with light-colored or white nails the quick is visible as a pink line within the nail and easy to avoid. In dogs with dark nails the quick is not visible, which requires a more conservative trimming approach — smaller increments with more attention to the cross-section of the nail as you trim.
Look at the cut nail surface as you trim. When you are approaching the quick the center of the nail cross-section will show a slightly darker oval forming within the white outer nail material. Stop when you see this oval beginning to form — this indicates you are within a millimeter or two of the quick and further cutting risks hitting it.
The trimming technique:
Use sharp nail clippers designed for your dog’s nail thickness — small scissors-style clippers for small dogs and guillotine or large plier-style clippers for medium and large breeds. Dull clippers crush rather than cut the nail, which is uncomfortable for the dog and more likely to cause splitting.
Hold the paw firmly but without squeezing. Position the clipper at a 45-degree angle to the nail and make confident single cuts rather than the hesitant multiple-squeeze approach that is actually more likely to cause problems than a decisive single cut.
If you cut the quick and bleeding occurs, apply styptic powder or cornstarch directly to the nail tip with gentle pressure — the bleeding stops within a minute or two in virtually all cases. This is an error, not a catastrophe, and it should not cause permanent anxiety about future nail trimming in either you or your dog.
Building the nail trimming habit:
Trim one or two nails per session if your dog is resistant rather than forcing a complete all-paw session that creates negative associations. Short positive sessions that end before the dog becomes uncomfortable build tolerance faster than sessions that push through resistance and create the bath-time-level aversion that makes all future nail trimming harder.
Section 4: Ear Cleaning
Dogs with floppy ears, dogs who swim regularly, and dogs with heavy hair growth in the ear canal are all prone to the moisture and debris accumulation that creates the environment for bacterial and yeast ear infections — some of the most uncomfortable and most common preventable health problems in dogs.
Regular gentle ear cleaning does not require inserting anything into the ear canal — it involves cleaning the visible inner ear surface that accumulates dark waxy buildup and debris without penetrating the canal where only veterinarians should work.
The cleaning technique:
Apply a veterinarian-recommended ear cleaning solution to a cotton ball or gauze pad — not a cotton swab, which risks pushing debris deeper rather than removing it. Gently wipe the visible inner ear surface and the entry to the canal, removing the dark waxy material that accumulates there. Use a fresh cotton ball for each ear and never use the same cotton ball after it has contacted one ear to clean the second — cross-contamination between ears is how infection spreads from one ear to the other.
Signs that ear cleaning is insufficient or that a problem exists: dark material that returns within days of cleaning, a strong odor from the ear, the dog frequently shaking their head or pawing at an ear, redness or swelling inside the ear, and the dog pulling away or vocalizing when the ear is touched. Any of these warrants veterinary examination rather than continued home cleaning.
Section 5: Eye Area Care
Many breeds accumulate eye discharge — the reddish-brown staining tear residue that accumulates in the inner corner of the eyes and in the facial folds of flat-faced breeds. This is a normal secretion that becomes a hygiene concern only when it accumulates to the point of skin irritation or bacterial growth in chronically moist fur.
Daily or every-other-day gentle wiping with a moistened cotton pad removes this discharge before it accumulates significantly. Always wipe outward from the inner eye corner toward the outer corner — never inward toward the eye itself. Use a separate cotton pad for each eye.
The reddish-brown staining that tear discharge leaves in light-colored fur around the eyes is the tear staining that flat-faced breed owners particularly contend with — the result of the overflowing tears that the facial structure of these breeds produces. Keeping the area clean and dry reduces the staining but does not eliminate it entirely in breeds with significant tear overflow.
Section 6: Building a Positive Grooming Routine
The grooming experience your dog has during their first several sessions at home determines whether home grooming becomes an easy regular routine or a recurring battle that both of you dread. The investment in making early sessions genuinely positive pays back with every subsequent grooming session across the dog’s entire life.
Introduce each grooming tool separately before using it — let the dog sniff and examine the brush, the clippers, the nail trimmers before they are applied. Associate each introduction with treats and calm handling so the tools become positive-association objects rather than anxiety triggers.
Start with the shortest possible sessions — five minutes of brushing rather than a complete grooming session — and end each session while the dog is still comfortable and before resistance develops. The session that ends positively builds tolerance; the session that ends with the dog trying to escape builds aversion regardless of how gentle the technique was throughout.
High-value treats reserved exclusively for grooming sessions create the specific positive association that makes grooming time distinctively rewarding rather than just tolerated. The dog who learns that nail trimming produces the small piece of chicken that nothing else in daily life produces is a dog who learns to associate nail trimming with something genuinely good.
All grooming guidance in this article is based on current veterinary and professional grooming research alongside genuine dog care expertise. For the specific grooming tools that implement every technique in this guide check out our complete guide to the best dog grooming kits under $50 — the complete tool sets that give you everything needed for professional-standard home grooming in one organized purchase.
Frequently Asked Questions
Q: How often should I groom my dog at home?
A: Brushing frequency depends on coat type — from twice weekly for short-coated breeds through daily for long and curly coats. Bathing suits most dogs every four to six weeks. Nail trimming every two to four weeks depending on how quickly your dog’s nails grow and how much natural wear their lifestyle provides through outdoor activity on hard surfaces. Ear cleaning weekly for breeds prone to ear issues and monthly for breeds with minimal ear concerns.
Q: What do I do if my dog absolutely refuses to be groomed?
A: Extreme grooming resistance warrants a consultation with a veterinary behaviorist or a certified professional trainer before the resistance becomes entrenched. Mild resistance responds well to the gradual positive introduction approach described in this guide. Dogs who have had painful grooming experiences previously — from a quick being cut, from rough handling, from being forcibly restrained — need the positive association rebuilding work that patience and high-value treats provide over multiple short sessions before full grooming is attempted.
Q: Can I use human shampoo on my dog?
A: No. Human shampoos are formulated for the human skin pH of approximately 5.5, while dog skin has a significantly higher pH of approximately 7.0 to 7.5. Human shampoo disrupts the dog’s skin pH balance and damages the protective acid mantle that healthy dog skin maintains, leading to dryness, irritation, and increased susceptibility to bacterial and fungal infections. Always use shampoo specifically formulated for dogs.
Q: How do I know if my dog needs professional grooming rather than home grooming?
A: Dogs with severely matted coats — where tangles are close to the skin and cannot be worked out with brushing — need professional dematting or coat clipping that home equipment cannot safely perform. Breeds with specific breed-standard haircut requirements — Poodles, Schnauzers, and similar breeds whose coats require precise clipping to a specific pattern — typically benefit from periodic professional grooming for the full haircut alongside home maintenance brushing and bathing between appointments.
Conclusion
Home dog grooming is one of those skills that feels intimidating before you try it and genuinely achievable after a few sessions of patient practice. The first nail trim is the most nerve-wracking. The second is considerably easier. By the fifth or sixth you are doing it on a schedule without significant anxiety from either you or your dog.
Start with brushing — the task that produces the most immediate visible benefit and requires the least skill — and build from there. Add bathing once brushing is comfortable routine. Add nail trimming once bathing is established. Each addition becomes routine faster than the previous one because the positive handling association and the dog’s trust in the process builds with every positive grooming experience.
Explore the complete collection of dog care guides and product recommendations at TopPetAccessories.com — Top Pet Accessories Blogs Page — for everything you need to keep your dog healthy comfortable and well-groomed year-round. And for the safety tool that tells you exactly where your dog is at any moment check out our complete guide to the best GPS dog trackers for pet safety — 5 brilliant picks that keep your dog safe and findable wherever they go.